Xencelabs Pen Display 16: one-minute review
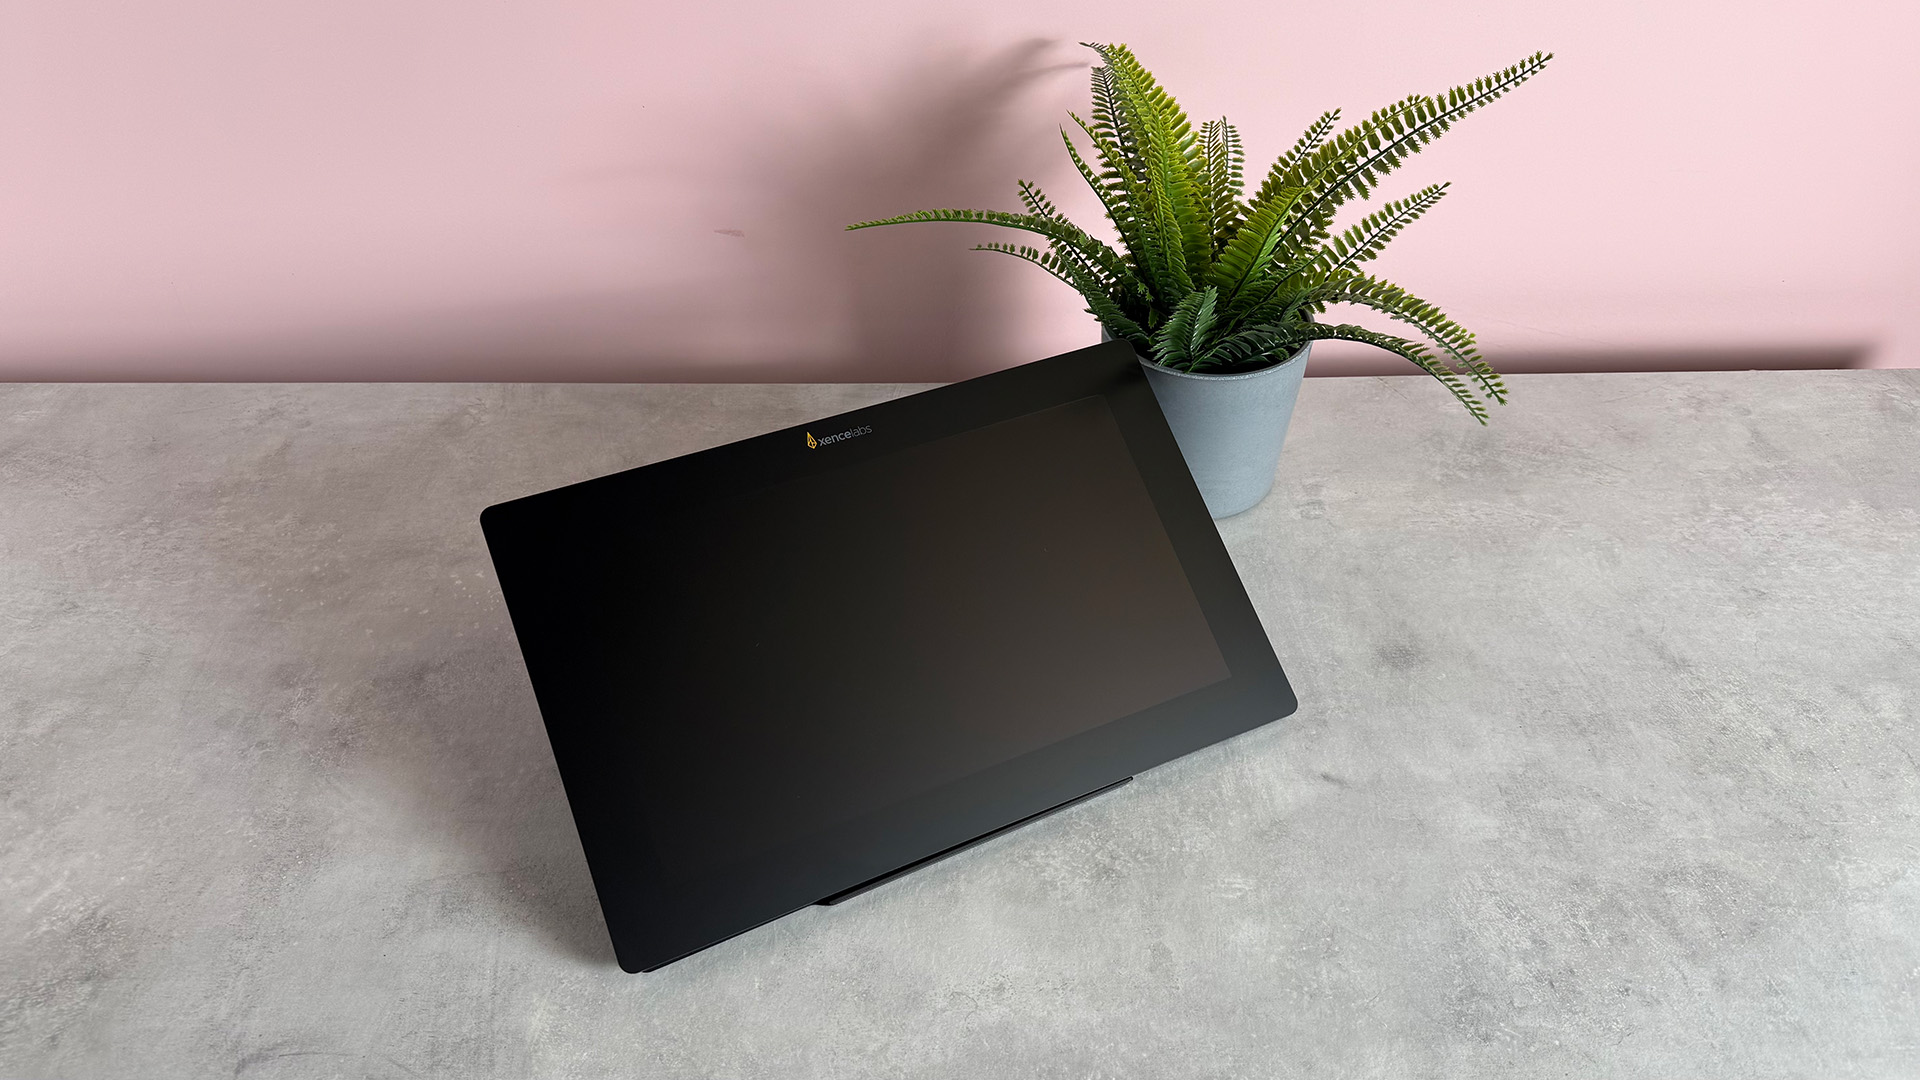
The Xencelabs Pen Display 16 is a drawing tablet the brand describes as ‘the first 4K 16-inch OLED’ on the market. It’s a very comprehensive package, offering two styluses, a stylus case and a carry case, but this is expanded upon in the Pen Display 16 Bundle I was sent for review, which also included a USB-C hub, the Mobile Easel Stand and the Quick Keys shortcut accessory.
Thanks to its smaller 16-inch size and 4K resolution, it has an impressive 275ppi pixel density, while its High Color Gamut Coverage (covering 1.07 billion colors, 98% Adobe RGB, 98% P3-D65 and 99% sRGB) means it offers vibrant, true-to-life hues. The rest of its design is pleasingly minimal. It needs scant cables for a beginner’s setup – although you’ll need to use a lot more if you want max brightness and video output, while the discrete, wireless Quick Keys accessory handles shortcuts.
In terms of performance, it’s exceedingly responsive and can rival many of the best drawing tablets. There’s minimal parallax or jitter while using either of its pens and with 8,192 pressure levels, I found each stroke felt realistic and in line with how hard I was pressing. It was also easy to adapt things to my workflow – I was able to tweak pressure curves in the Xencelabs driver and assign my most used functions like undo, zoom and scroll to clicks of the pen buttons or the buttons and dial of the quick keys.
Given its price – $999 / £969 (around AU$1597) for the Essentials edition or $1,299 / £1,199 (around AU$2,080) for the Bundle edition featured here – it’s really hard to quibble with the quality or breadth of what the Pen Display 16 offers. If you’re a professional artist or have loads of money to burn, you might want to go with a behemoth like the Wacom Cintiq Pro 27. But for most people, this is the perfect combo of price and high-end results.
Xencelabs Pen Display 16 review: price and availability
- Announced: May 8, 2024
- Retails for $999 / £969
- Bundle reviewed here retails for $1,299 / £1,199
First announced on May 8, 2024, the Xencelabs Pen Display 16 went on sale later that month and is available for purchase now. It currently retails for $999 / £969 (around AU$1597), which is a competitive price, especially considering the closest equivalent from Wacom, the Wacom Cintiq Pro 16, retails for a much spendier $1,599.95 / £1,399.99 / AU$2,399.
However, it’s worth noting this isn’t the only option: the Xencelabs Pen Display 16 Bundle we received for review here actually retails for $1,299 / £1,199 (around AU$2,080). While that’s a bit of a markup, I’d argue you get a huge amount of value in return for the extra spend: it comes with a USB hub and all the cabling to allow you to hook it up using HDMI, Display Port and mains power. It also provides power adaptors for international plug sockets, the Mobile Easel stand and the customizable Quick Keys accessory, which adds programmable buttons and a dial to your setup. In my book, that’s well worth spending the additional cash.
Xencelabs Pen Display 16 review: specs
| Dimensions | 16.1 x 10.2 x 0.47 inches (410 x 259.4 x 12mm) |
| Active drawing area | 13.55 x 7.6 inches (344.2 x 193.6mm) |
| Weight | 2.67 lbs (1.21kg) |
| Display resolution | 3840 x 2160 pixels |
| Pressure levels | 8,192 |
| Compatibility | PC: Windows 11 ARM Windows® 7 or later (latest service pack/build); Mac OS X 10.13 or later (latest update); Linux – Ubuntu 14.04 or above, Debian 9.5, CentOS 7.0 or above, RedHat 7.0 or above |
Xencelabs Pen Display 16 review: design
- 16-inch 4K display with high 275ppi pixel density
- Simple to use and setup for beginners
- Can get very cable heavy with more professional setups
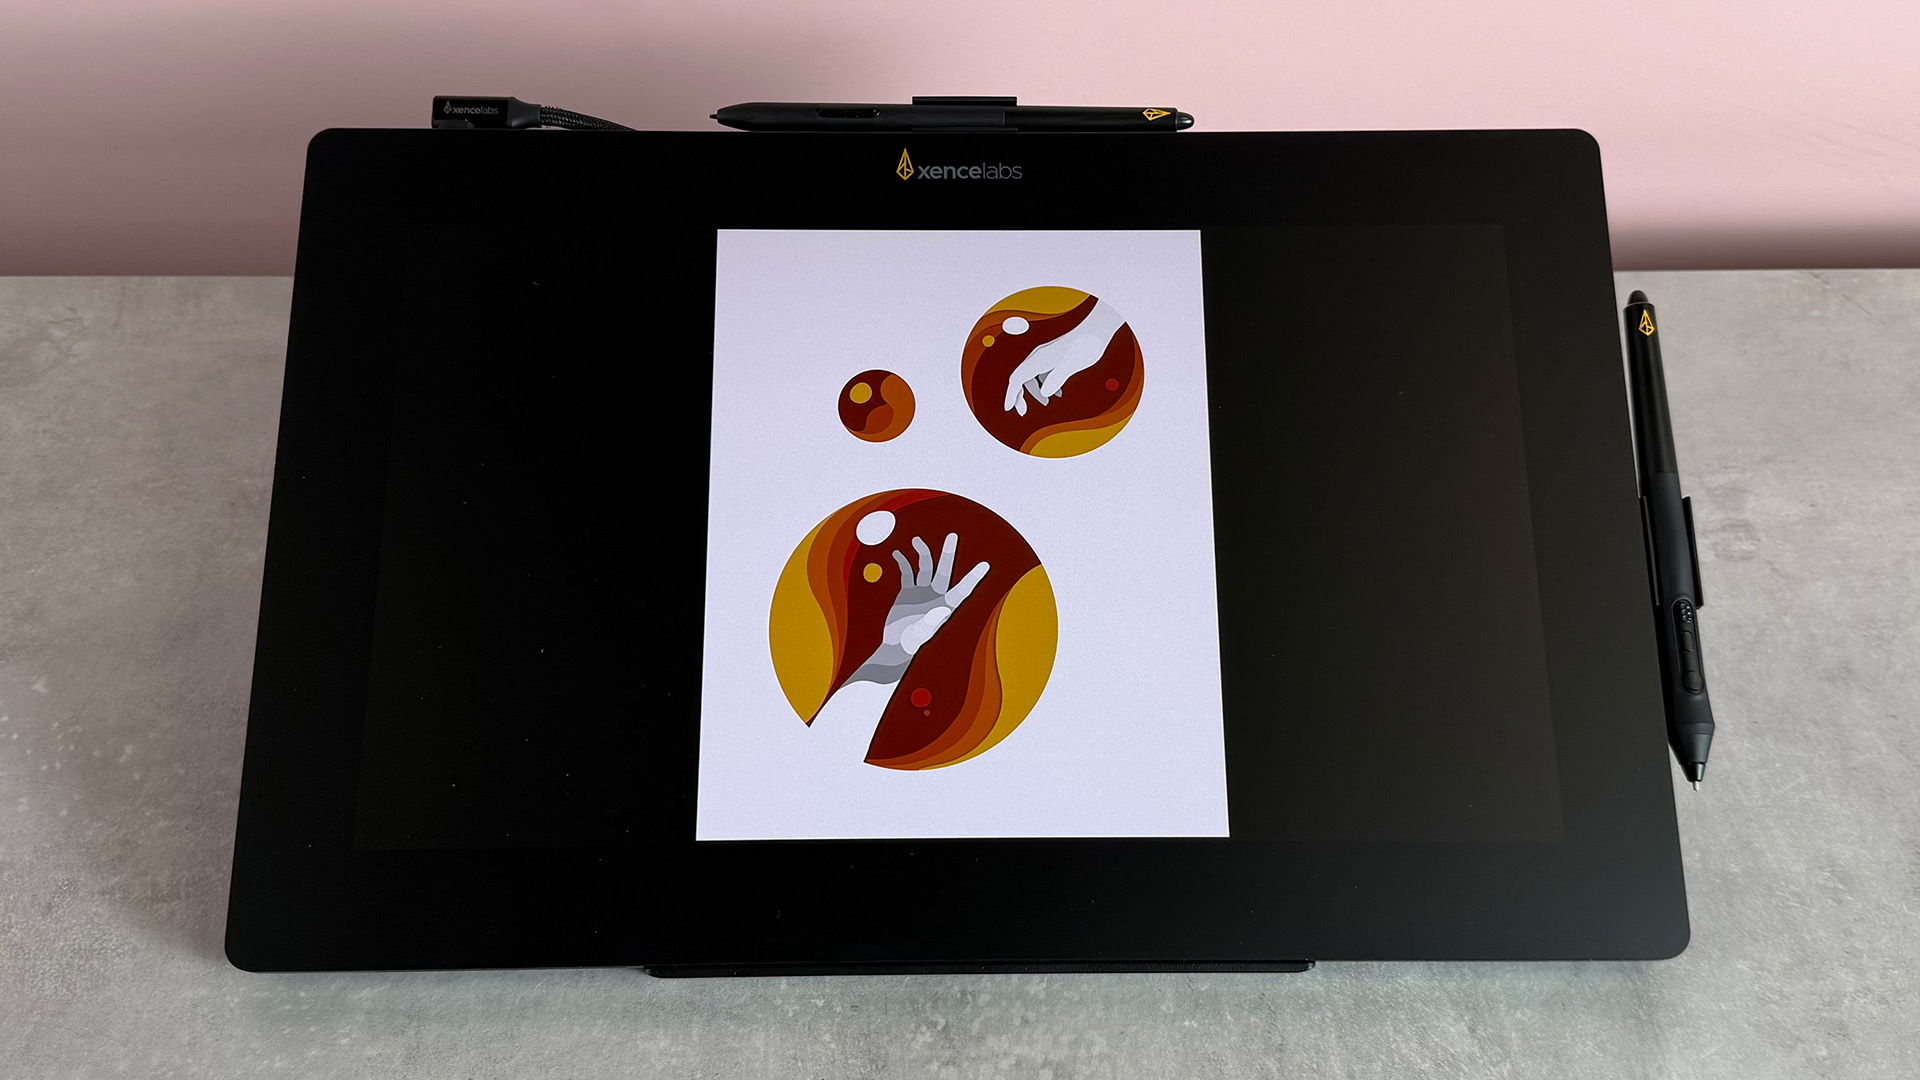
Xencelabs describes the Pen Display 16’s screen as the ‘industry’s first’ 16-inch 4K OLED. Not only is it 10-bit and capable of delivering 1.07 billion colors, which means it should give vibrant color reproduction, but its contrast ratio of 100,000:1 should enable it to offer really inky blacks and decent highlights. While 16 inches isn’t the largest drawing tablet Xencelabs has produced – that accolade goes to the Xencelabs Pen Display 24 – it is worth bearing in mind the two devices’ identical resolution means you’re getting a much higher pixel density here: 275ppi vs 183ppi.
According to Xencelabs specs, the screen is also etched to provide a ‘traditional pen-and-paper-like drawing experience’. If I’m being completely honest, although I tried using both the standard and felt nibs supplied, I can’t say this offered quite as much bite as I was expecting. The nibs don’t slip as readily as they would across a glossy display but I wouldn’t describe it as being that much like drawing on paper, especially not compared to using some e-paper displays. On the flip side, the nibs don’t catch as they do on some other drawing tablets, so subtle is definitely better here.
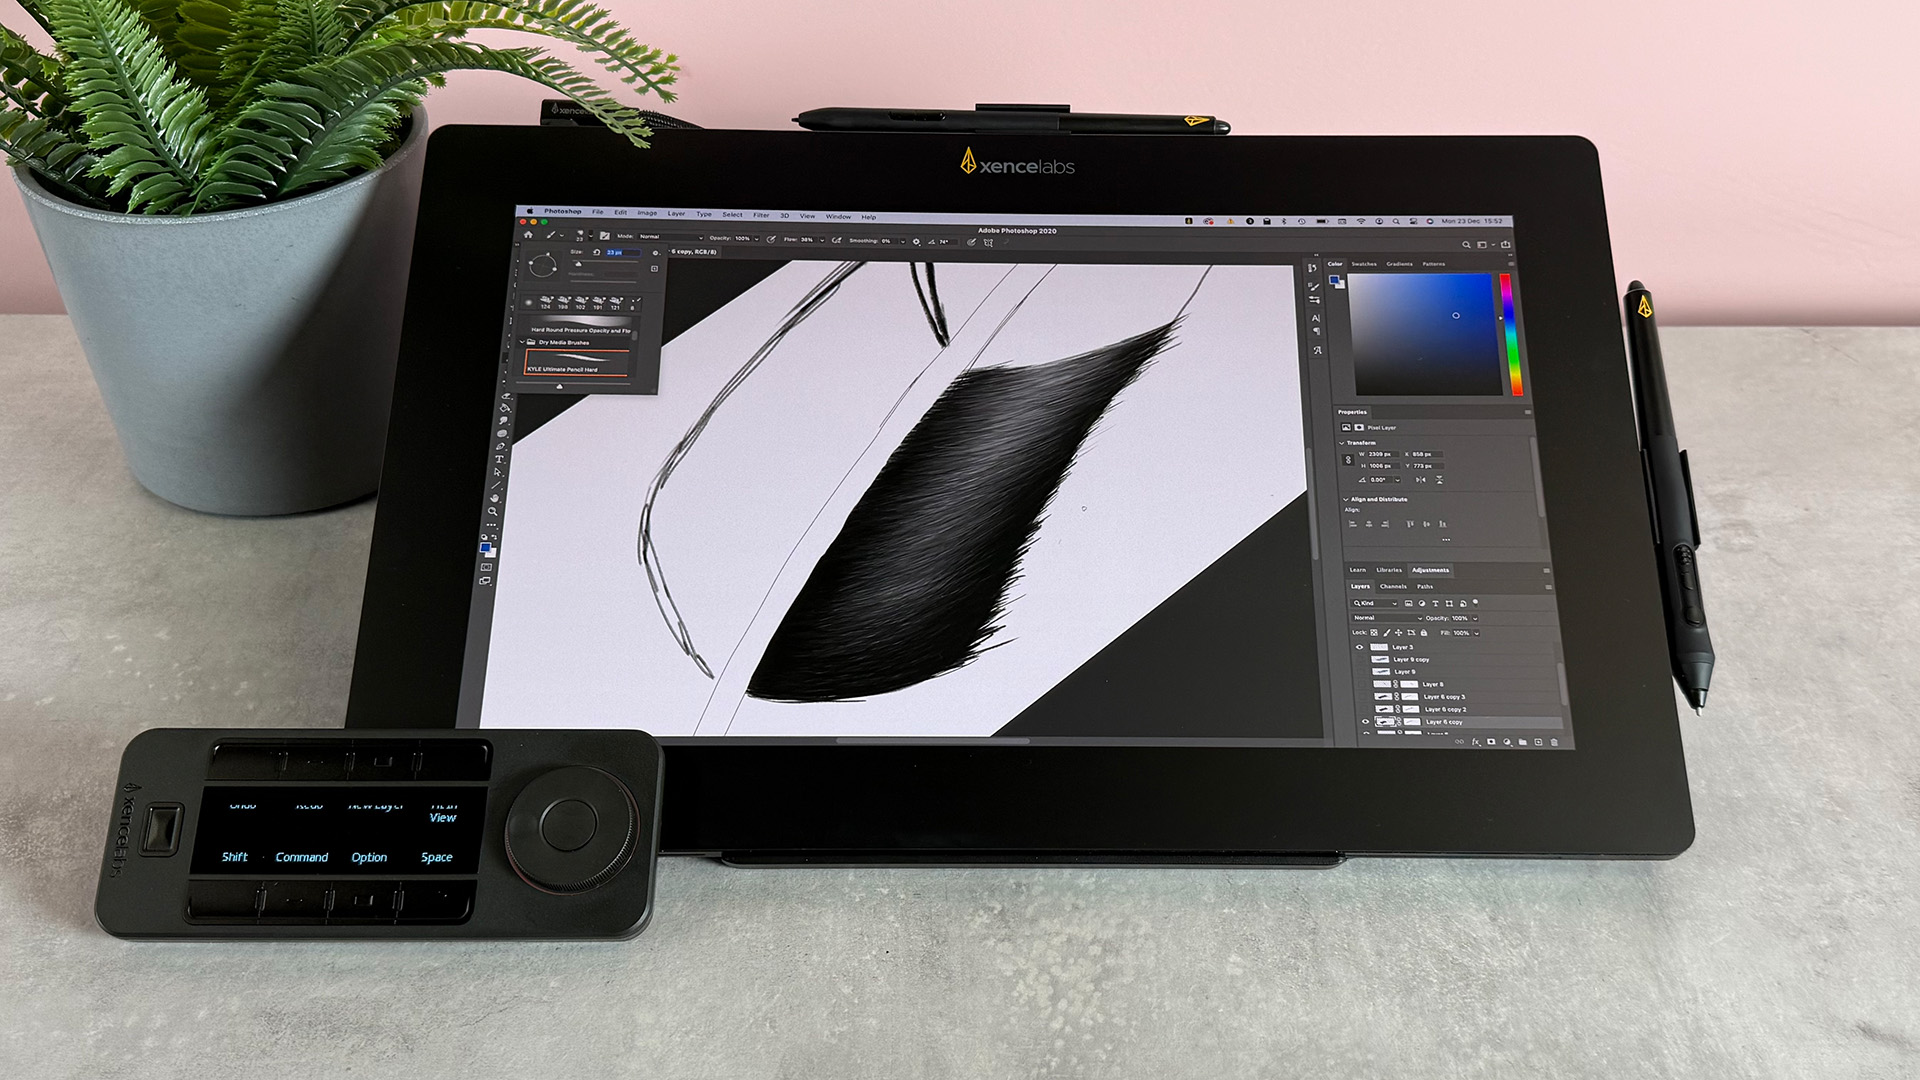
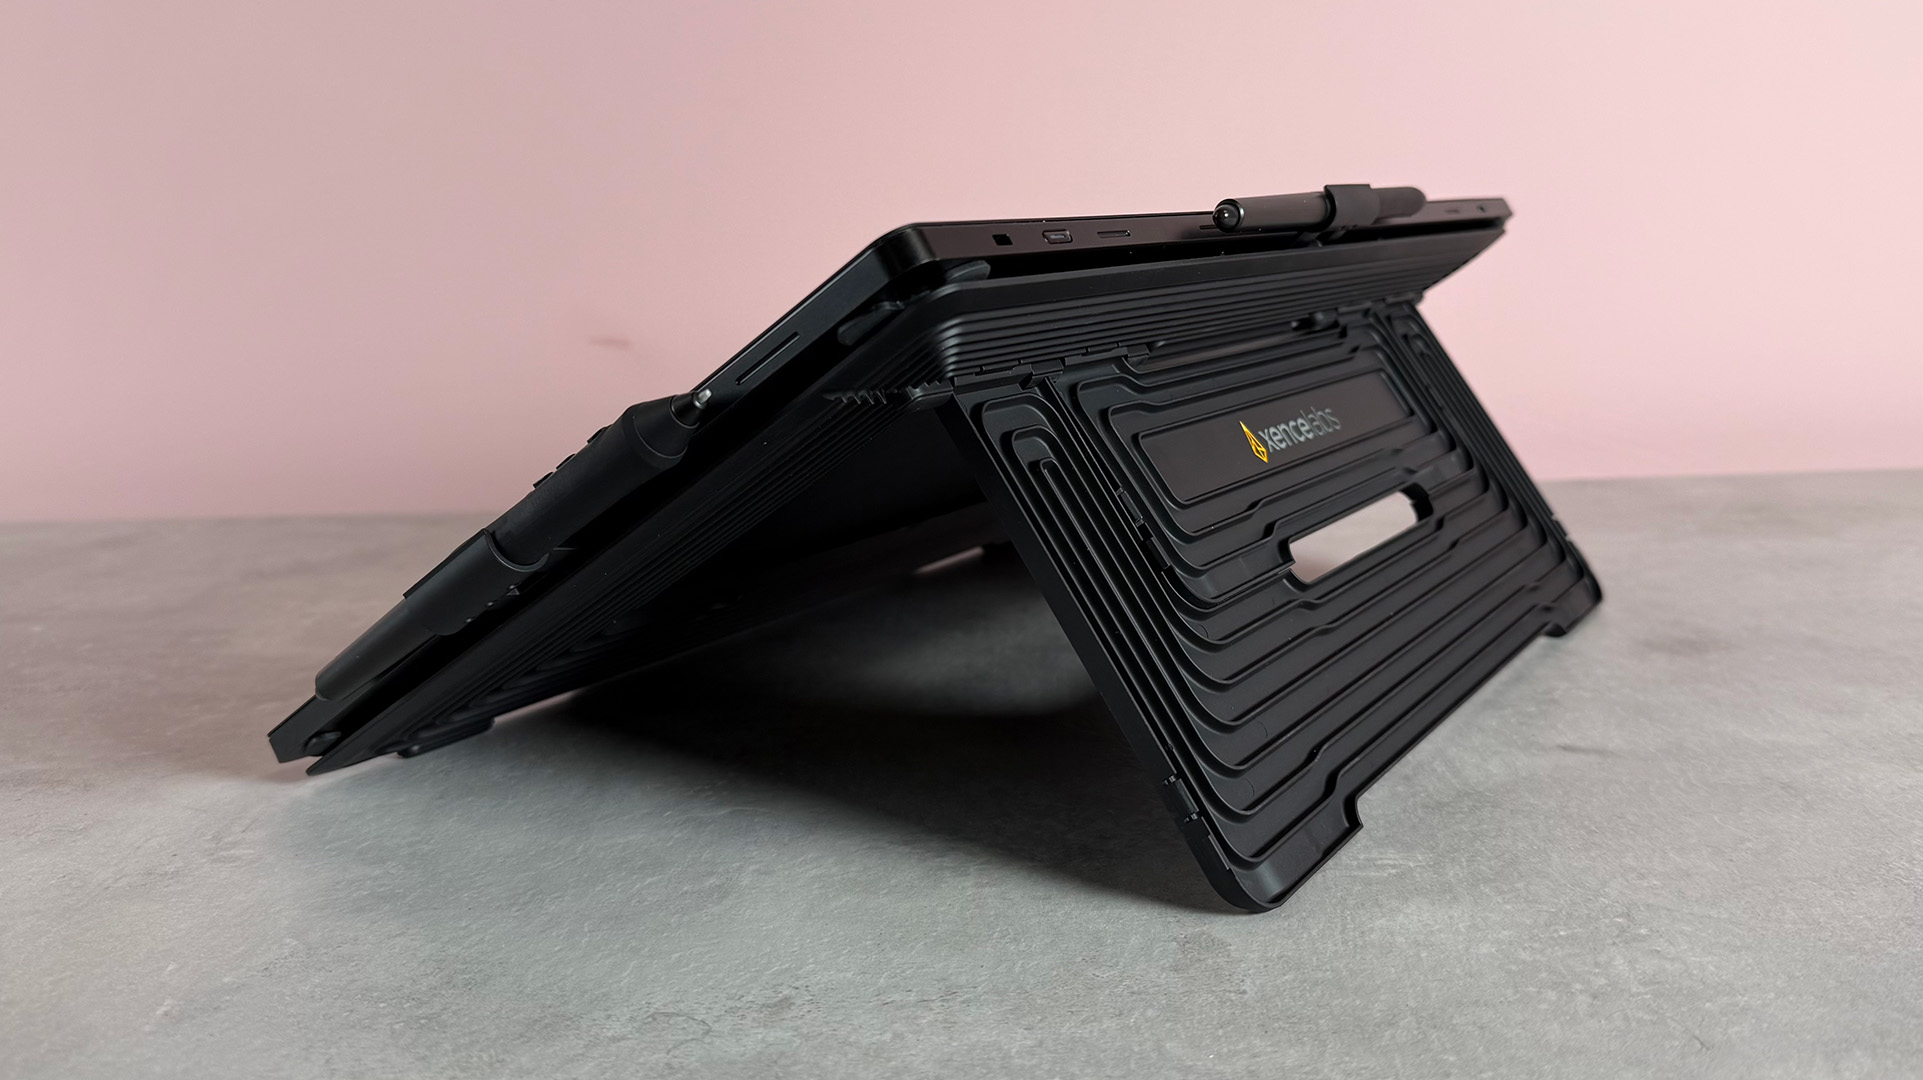
While the Pen Display 16 is absolutely light enough to use freehand, the bundle we received for review also comes with Xencelabs Mobile Easel stand for those times you want to mount it on your desk. At first, I was a bit underwhelmed by its construction. It features two kickstands that allow you to set it at two different drawing angles but often when I did, it would collapse if I pressed too hard or moved my hand too rapidly. Turned out I was having a bit of a middle-aged moment though: I eventually realized that I needed to push harder to click the stand into position and, once you do, it’s solid as a rock. D’oh.
And whatever angle you’re using this drawing tablet at, it’s a pretty comfortable experience. Rather than putting aesthetics ahead of usability and giving the Pen Display 16 tiny, tablet-like bezels, Xencelabs has sensibly given it a nice, chunky 1.57 inch / 4cm border, which makes it easy to rest your wrists on while sketching. Aside from this though, there’s very little to distract from your artwork on the screen – the Pen Display 16 is gorgeously minimal, with the only other embellishments being its sole USB-C port, power button, and the optional pen clips you can affix to it.
This simplicity also extends to its cabling – at least up until a point. Aspiring artists will likely appreciate how simple it is to hook up to your hardware – at its most minimal, you can simply connect it to your laptop or desktop via USB-C, plug in the dongle for its Quick Keys accessory and you’re good to go. Unfortunately, if you want the highest brightness output and to be able to record or output your video directly to an external display, things quickly get more complicated: once you’ve added the required USB hub, power cable, and HDMI or Display Port cable, your desk will look like a spilled spaghetti cable-nara. But I’d argue that won’t be unfamiliar for anyone wanting a truly pro-level setup.
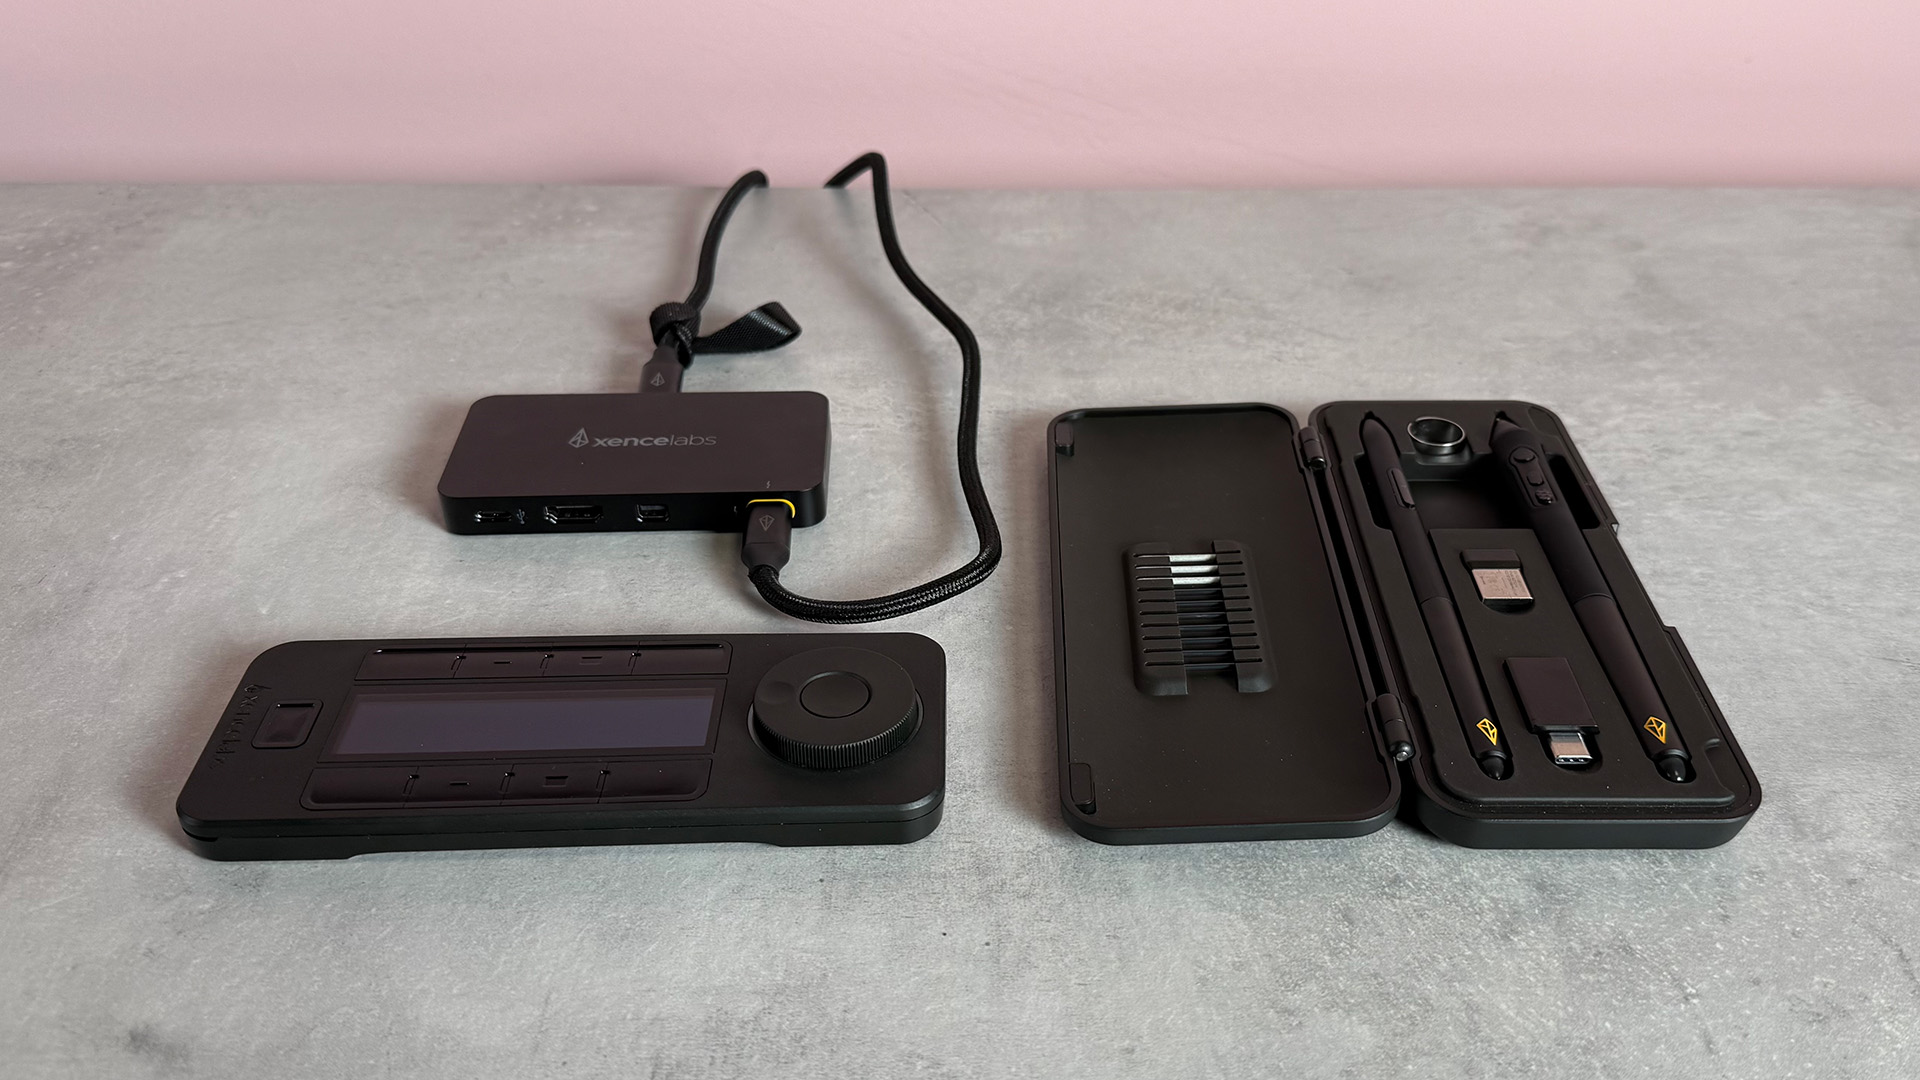
A real strength of the Xencelabs Pen Display 16 Bundle we reviewed is that absolutely everything you’ll need is provided for you. Unlike some tech brands that have ruthlessly cut back on all the accessories they provide – **cough** Apple **cough** – this bundle means you don’t need to purchase a single additional product. Whether it’s the full gamut of USB cables, international power adapters, the dedicated stylus box for the two types of pen provided, spare nibs, dongles, and the Mobile Easel, you really have everything you’ll need here. It even comes with a carrying case that fits all of these accessories inside while being comfortable to carry. It’s a level of thoughtfulness that’s all too often overlooked when buying modern gadgets.
Xencelabs Pen Display 16 review: performance
- Gorgeous color reproduction
- Very precise with no noticeable parallax or jitter
- Supremely customizable Quick Keys shortcuts accessory
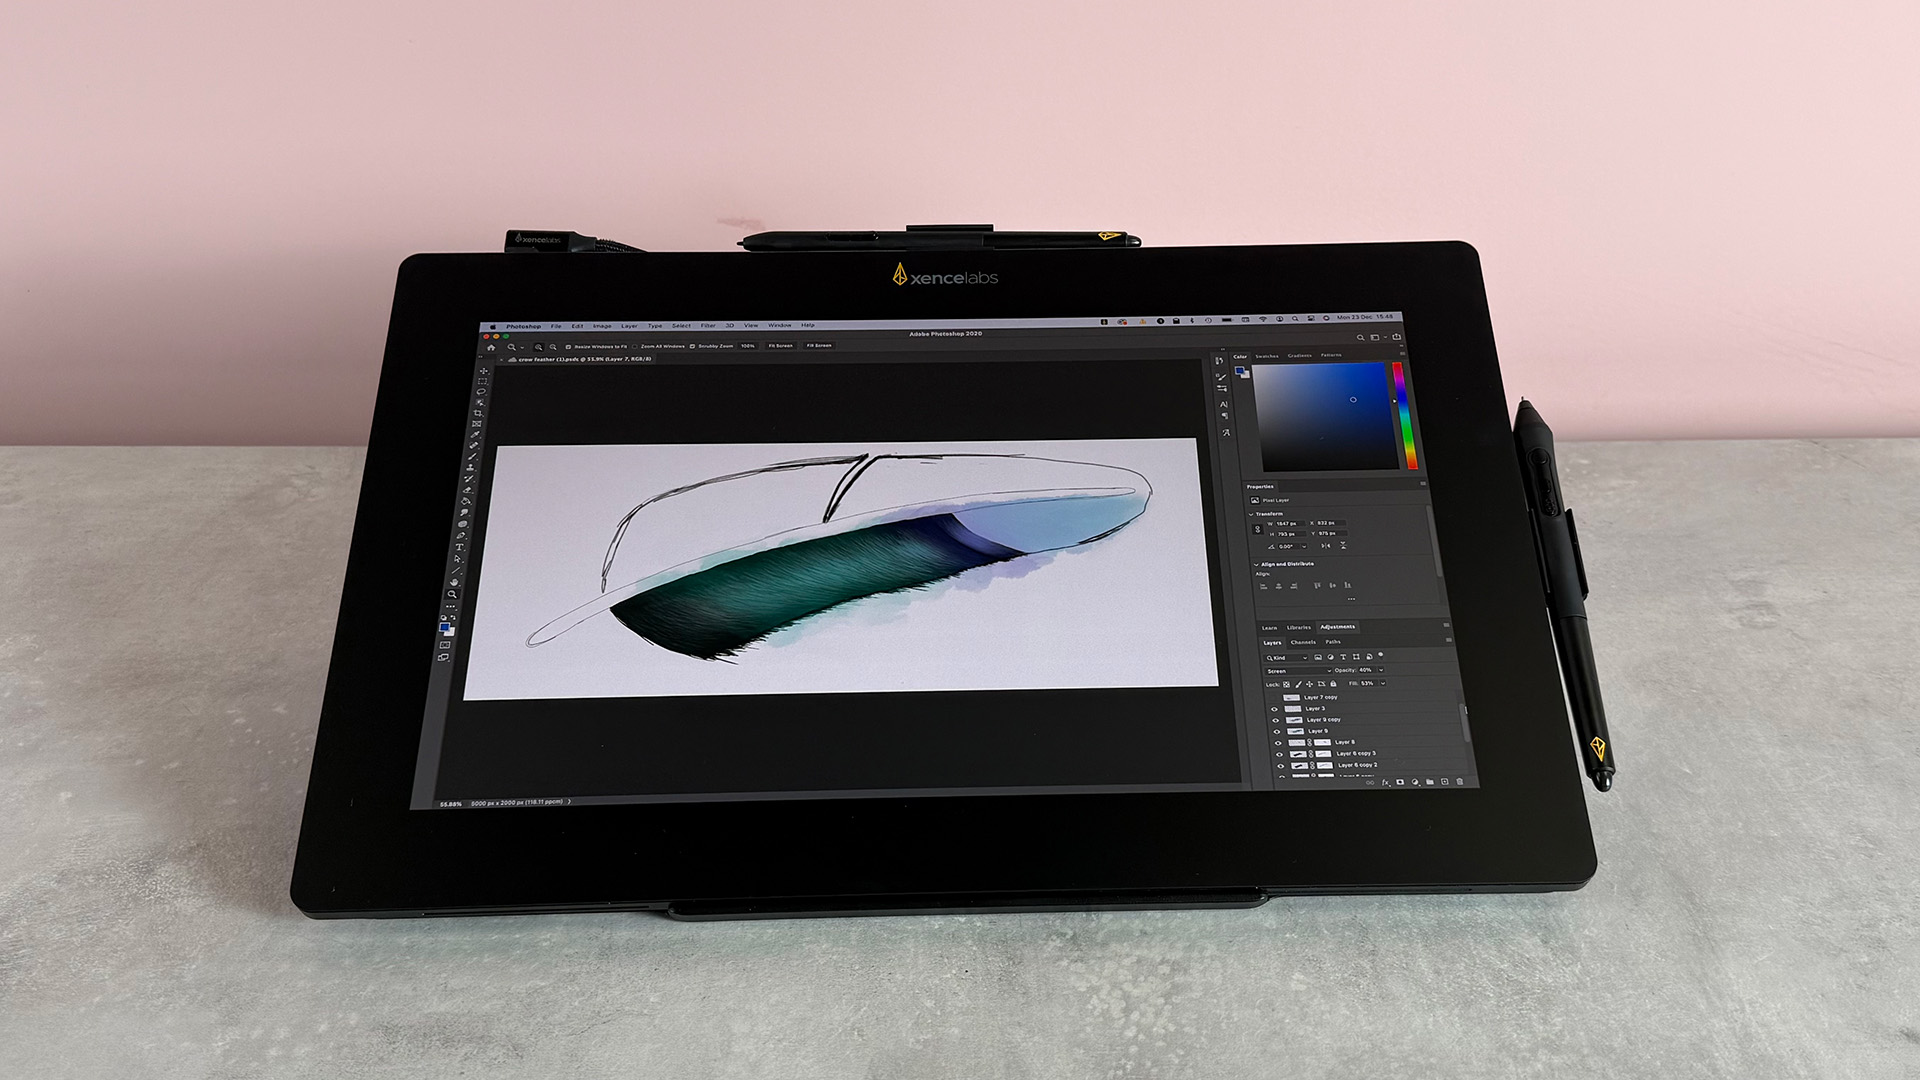
First of all, the screen looks gorgeous, with the 4K resolution and impressive pixel density meaning your drawings look impressively crisp. Additionally, the color reproduction makes artwork look lush and vibrant – moving an Illustrator file I was working on between the drawing tablet and my 2017 MacBook Pro’s native screen, I noticed how much more brilliant they were on the former, with the OLED display and that insane color gamut really giving the red and amber hues extra warmth.
When it comes to brightness, it can sometimes look a little on the dull side, particularly in a well-lit room. But given its OLED panel and matt effect screen, I wouldn’t say this was an enormous surprise – it’s just the price you pay for such gorgeous color reproduction and deep blacks and I found it scarcely noticeable when I was working in the evenings under marginally softer light. In some circumstances, you can improve the brightness from 170 nits to 300 nits to by hooking the tablet up to mains power and the included USB hub; however, I found this didn’t make much difference for my setup, as the MacBook Pro’s USB-C port clearly outputs enough juice on its own.
To test out the Xencelabs Pen Display 16’s drawing performance, I tried a few line tests using different brushes, before progressing to doing some detailed line drawings of my own. Generally speaking, I found it to be swift and precise: there was almost zero parallax using either stylus and I found it very easy to sketch accurately even when attempting fine detail. And when sketching at speeds, there was very little jitter or imprecision: motion was smooth and fluid. There was occasionally a little bit of lag where the tool fell behind the nib but this could well have been down more to my laptop’s age than the Pen Display 16’s performance.
As I’ve mentioned above, the Pen Display 16 hardly has any buttons on the device itself; instead, it deputizes its Quick Keys accessory to handle additional functionality on its behalf. This is a supremely flexible tool: it offers eight programmable buttons that you can assign using the Xencelabs driver to a variety of functions, everything from different types of mouse click and modifier keys like command or option, to display, navigation and even OS-level options. You can create 5 different profiles of presets, making it easy to switch between different setups at the press of a button. Its wheel also has four fully customizable settings: I set one to scroll and one to rotate, which made it really to control my canvas and get the angle right for specific strokes.
And this isn’t the only customizable thing. Using the Xencelabs drivers, you can tweak a wide range of settings for the pens – not only can you adjust pressure sensitivity but you can also adjust the pressure curves to ensure it responds exactly the way you’d draw naturally. You can also set the shortcut buttons on each stylus: being able to quickly access undo, right clicks, and a range of other features without taking my hands off the pen was a huge time saver.
Xencelabs Pen Display 16 review: stylus
- Two pens, each with customizable buttons
- Ergonomic, comfortable design
- 8K pressure sensitivity with programmable curves
The pens that come with the Xencelabs Pen Display 16 are both well-designed, comfortable to hold, and offer flexible functionality. First, the fact that there are two options meant I was able to switch things up based on the kind of work I was doing: the slimmer, two-button Thin Pen felt super comfortable and ergonomic for light sketching, while the sturdier 3-Button Pen was better suited for longer sessions where I’d benefit from extra shortcuts.
Both pens are well-designed and feel comfortable in the hand – their rubber grip makes it easy to keep precise control over them without having to apply loads of pressure. My one criticism is that it is quite easy to sometimes accidentally press the buttons when you’re holding the pens. However, as a result of the functionality I had them set to, I rarely found this to cause major problems and, eventually, I formed the muscle memory to grip the pens in an orientation that kept my fingers off the buttons.
The Pen Display 16’s pens handle pressure very well indeed. They’re capable of 8,192 pressure levels, which is plenty for professional artwork – while you’ll find some devices on the market that offer 16K, this is likely far more granular control than your hand will ever be able to reproduce. This was borne out during my testing: while sketching the barbs of a feather, I found the stylus responded accurately with each stroke, enabling me to reproduce realistic pencil strokes. And it was trivial to add realistic watercolor pigments over the top, as the blending brush responded very precisely to the force of my hand.
Should I buy the Xencelabs Pen Display 16?
| Value | Costs much less than its equivalent Wacom device and comes with way more accessories – even before you consider all the additional perks offered by the Xencelabs Pen Display 16. | 4.5 / 5 |
| Design | A colorful, crisp screen, compact and super ergonomic, it’s simple for beginners and still offers everything a pro needs. | 5 / 5 |
| Performance | Fantastic to draw on, staggeringly accurate and wonderfully customizable. | 5 / 5 |
| Stylus | These pens are comfortable to hold, adaptable and great at pressure sensitivity, although button placement can result in the odd accidental trigger. | 4.5 / 5 |
Buy it if…
Don’t buy it if…
Xencelabs Pen Display 16 review: also consider
| Header Cell – Column 0 | Xencelabs Pen Display 16 | Xencelabs Pen Display 24 | iPad Pro 13-inch (2024) |
|---|---|---|---|
| Dimensions | 16.1 x 10.2 x 0.47 inches (410 x 259.4 x 12mm) | 24.4 x 15.3 x 1.4 inches (619.8 x 388.6 x 35.6mm) | 8.48 x 11.09 x 0.20 inches (215.5 x 281.6 x 5.1mm) |
| Active drawing area | 13.55 x 7.6 inches (344.2 x 193.6mm) | 20.75 x 11.7 inches (52.71 x 29.72cm) | 13 inches |
| Weight | 2.67 lbs (1.21kg) | 13.3oz (6kg) | 1.28 pounds (579 – 582 grams) |
| Display resolution | 3840 x 2160 pixels | 3840 x 2160 pixels | 2752 x 2064 pixels |
| Pressure levels | 8,192 | 8,192 | Row 4 – Cell 3 |
| Compatibility | PC: Windows 7 or later (latest service pack/build); Mac OS X 10.13 or later (latest update); Linux – Ubuntu 14.04 or above, Debian 9.5, CentOS 7.0 or above, RedHat 7.0 or above | PC: Windows 7 or later (latest service pack/build); Mac OS X 10.13 or later (latest update); Linux – Ubuntu 14.04 or above, Debian 9.5, CentOS 7.0 or above, RedHat 7.0 or above | iPadOS 18 |

Xencelabs Pen Display 16 review: how I tested
- I used it for a week
- Created a range of artwork using Photoshop and Illustrator
- Performed line tests and utilized a range of brushes
During the week I spent testing the Xencelabs Pen Display 16, I performed a range of tests, from simple to complex. First off I carried out multiple line tests with different brushes to check for issues like parallax and jitter, as well as to test how the pens responded to pressure.
I then embarked on creating several artworks in both Photoshop and Illustrator to test out both the performance of the stylus and the screen in a variety of real-world situations. I created a simple line sketch with multiple watercolor effects over the top, created a multi-layered illustration using vector shapes and retouched a portrait in Photoshop.
In terms of experience, not only have I been testing gadgets for many years, but I’ve spent several decades using tools like Photoshop and Illustrator to create art, as well as sketching and painting in real media.
- First reviewed: December 2024
- Read more about how we test

